One program that can save your hundreds of hours to copyright images


Intuition and the Incident behind ...
One day I was chatting with one my friends who is a wildlife photographer by profession. He is looking for some platform where he can showcase his work. There are a lot of websites to get this done, some paid and some free.
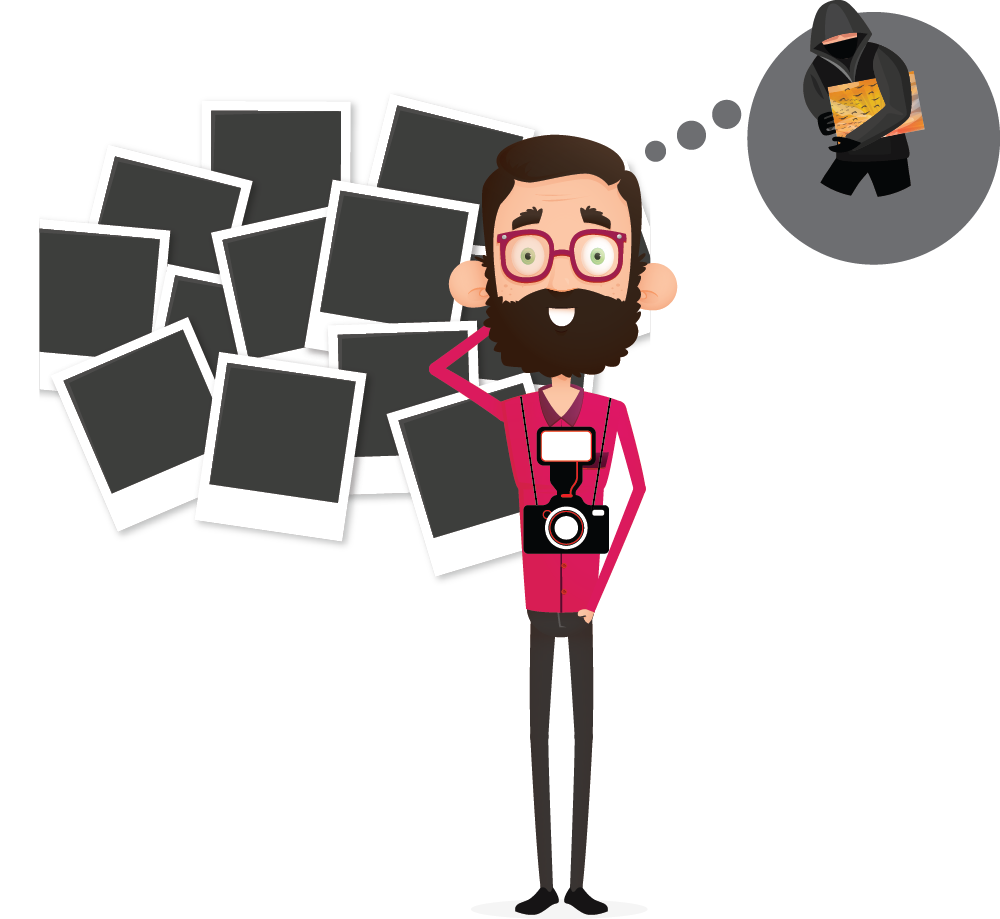
He started using those platforms and after some time; he found out that the same
pictures his pictures are used on some other websites without crediting him for his work.
When he discussed this with me, I told him that anyone can save your image on their system by using
very famous option of RIGHT CLICK -> SAVE IMAGE AS available in their browser.
We all can agree on the fact that most of us do use this browser option on a daily basis.
My friend and I were looking for a solution that caters this problem.
I suggested my friend that he can watermark the image with his name or signature so that whoever uses the same image can be caught.
And by doing this people will also refrain from using the photos.
Since there were a lot of photos to be photoshopped, watermarking each one of them using photoshop would have been a tedious job.
I was wondering if the whole process can be programmatically automated.
And since I have some experience working in OpenCV, I eventually came up with python script that automates the whole process.
I thought it would be good idea to share this experience through a blog and here I came up with a blog on Image blending.
Introduction
This tutorial is for those who want to automate blending of images. This can enable users to automate certain image editing tasks like adding watermarks in the image.
Content Covered
First we are going to go through blending of same size of images and after that we will into how to blend images of different sizes
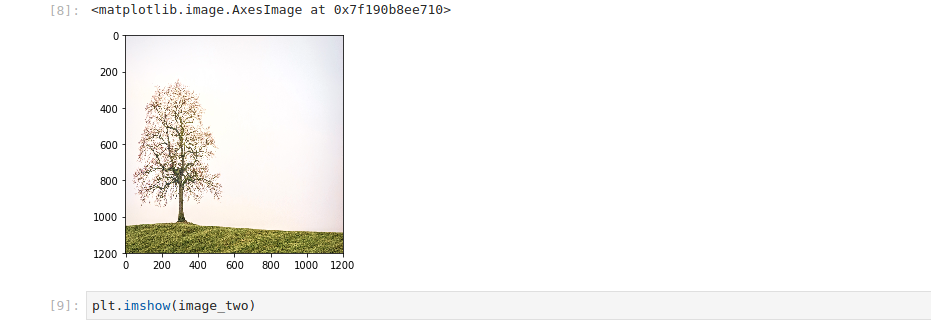
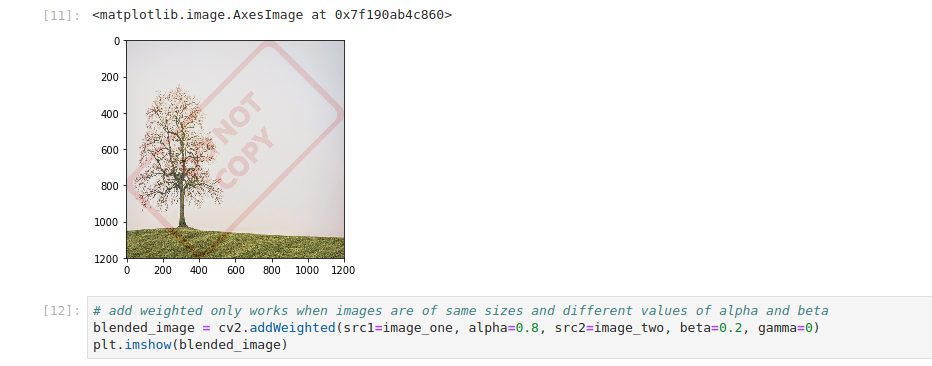
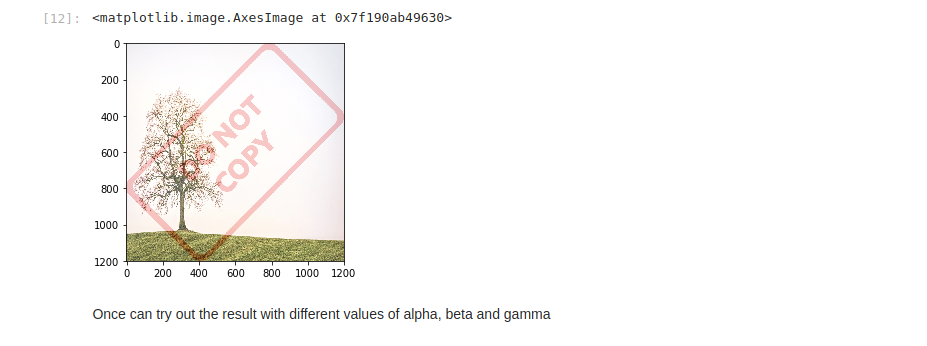
Blending Images of Same Size
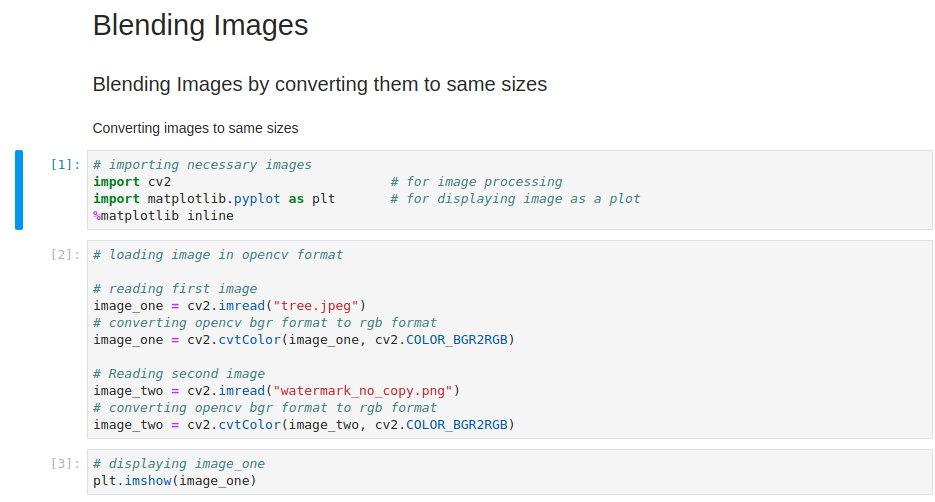
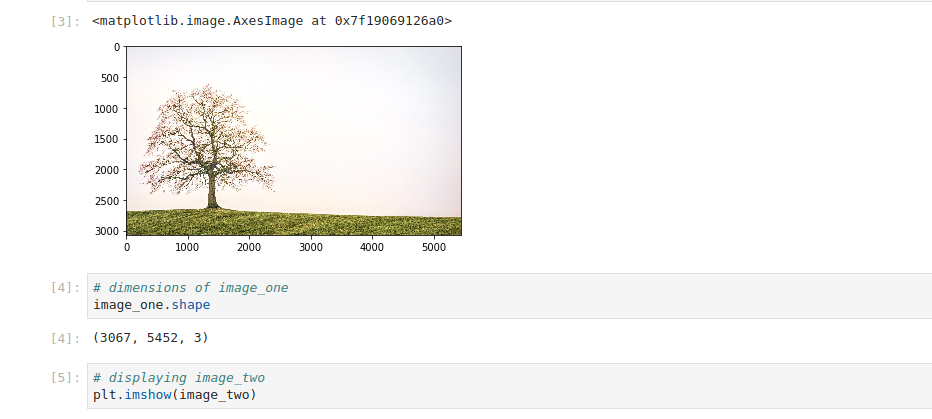
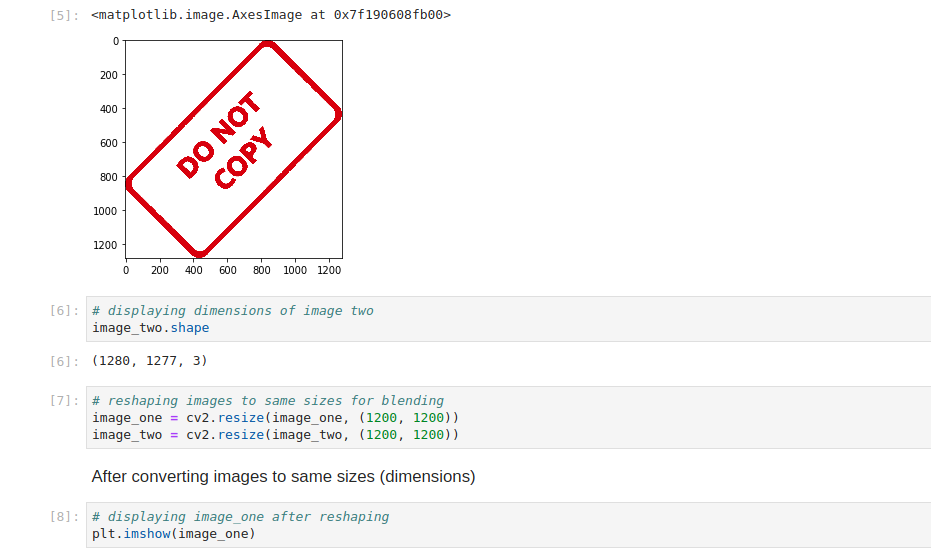
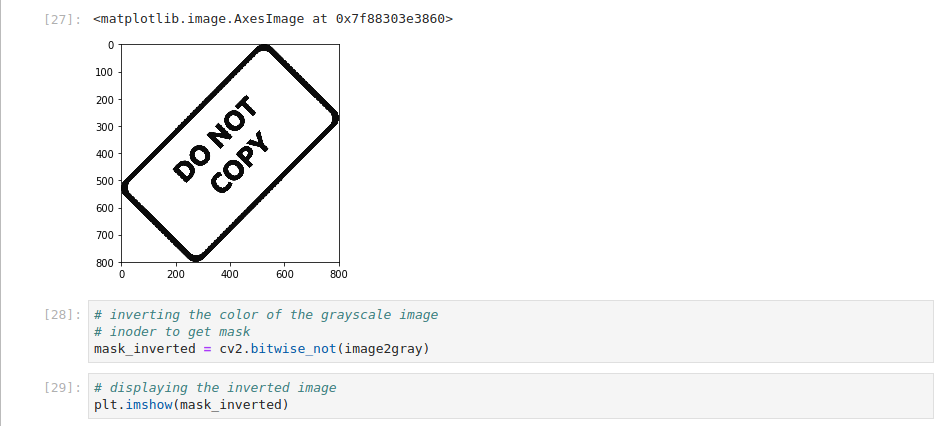
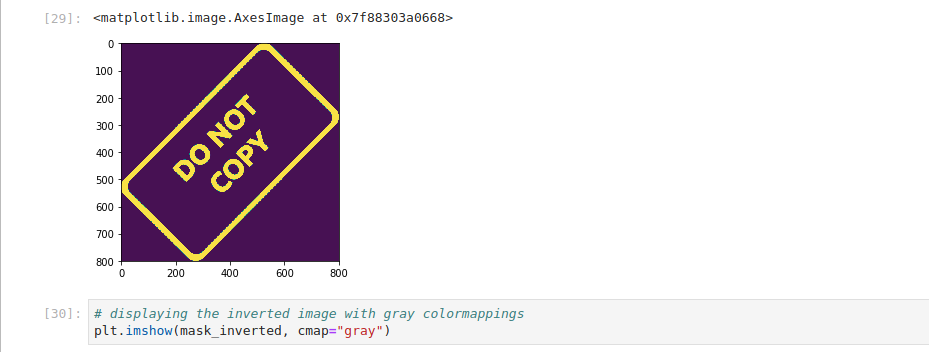
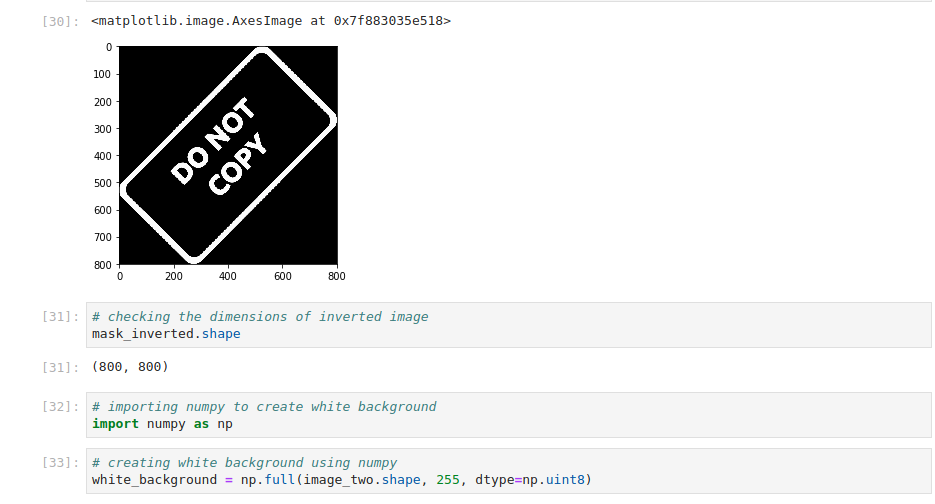
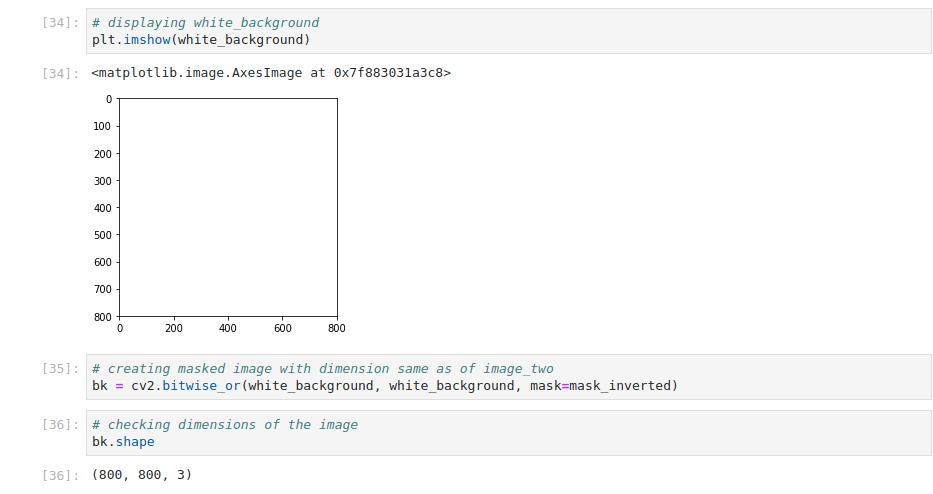
Here the steps are described in jupyter notebook and the comments make the whole procedure self explanatory

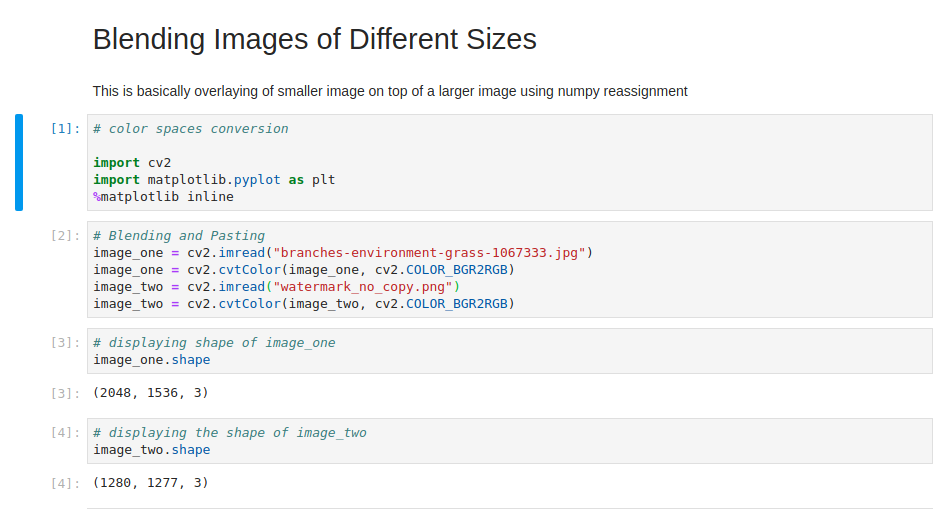
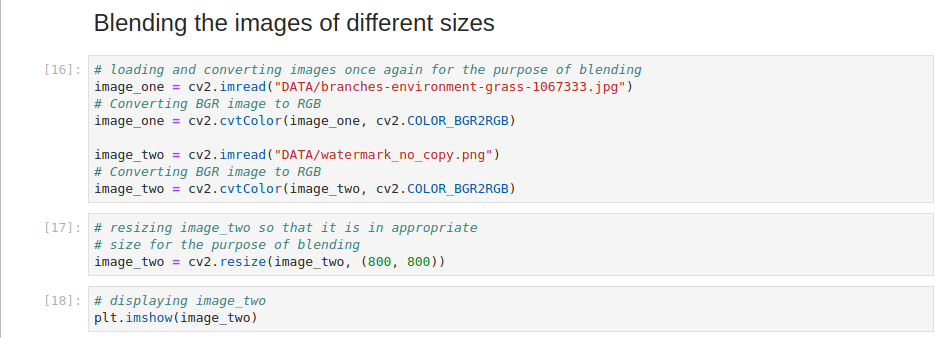
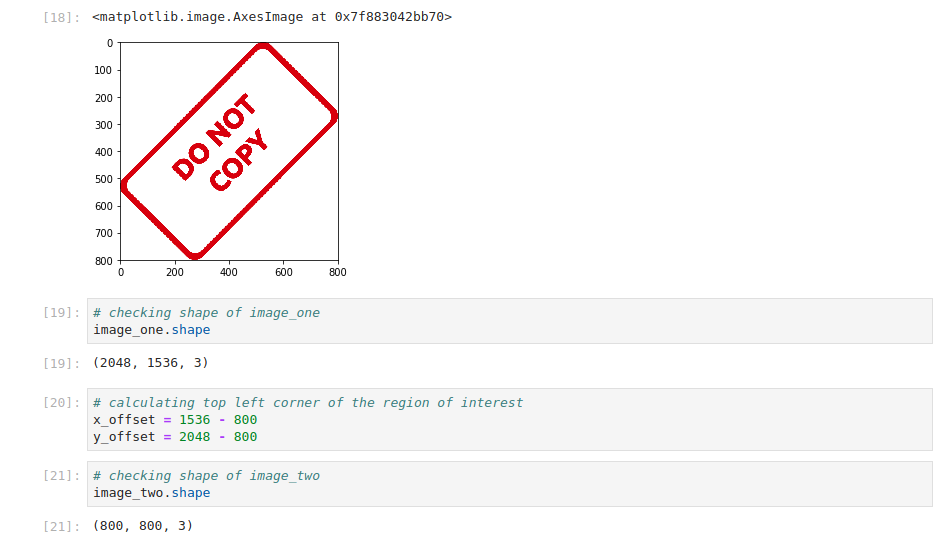
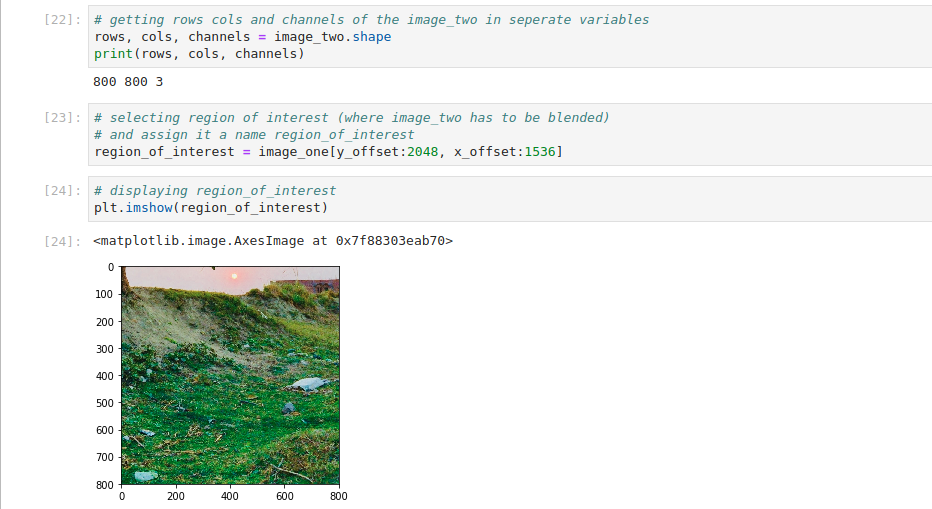
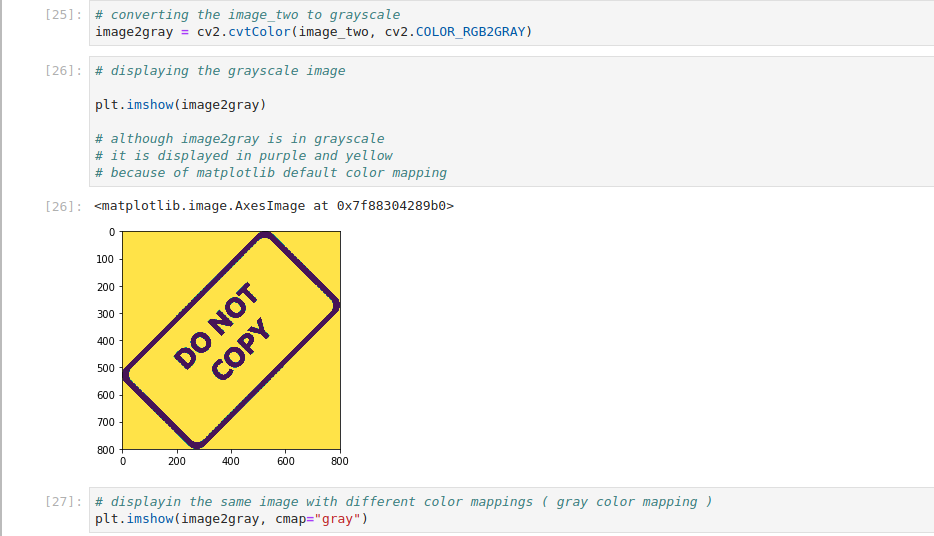
Blending Images of Different Sizes
Again, here the steps are described in jupyter notebook and the comments make the whole procedure self explanatory

Conclusion
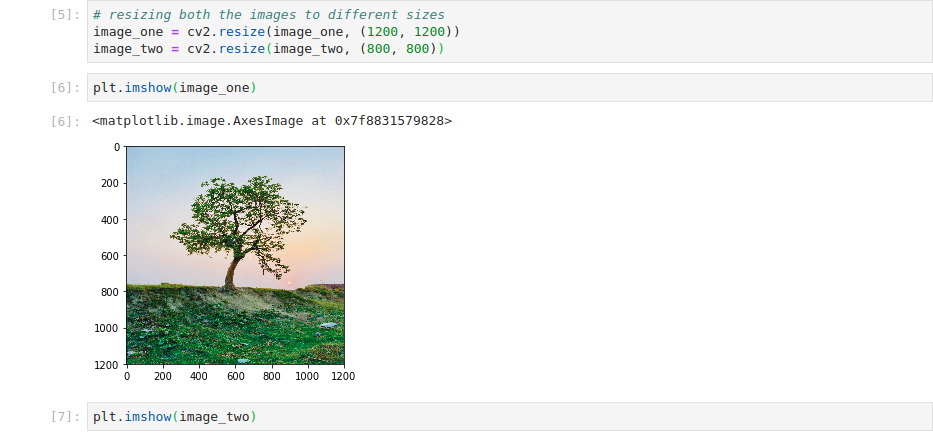
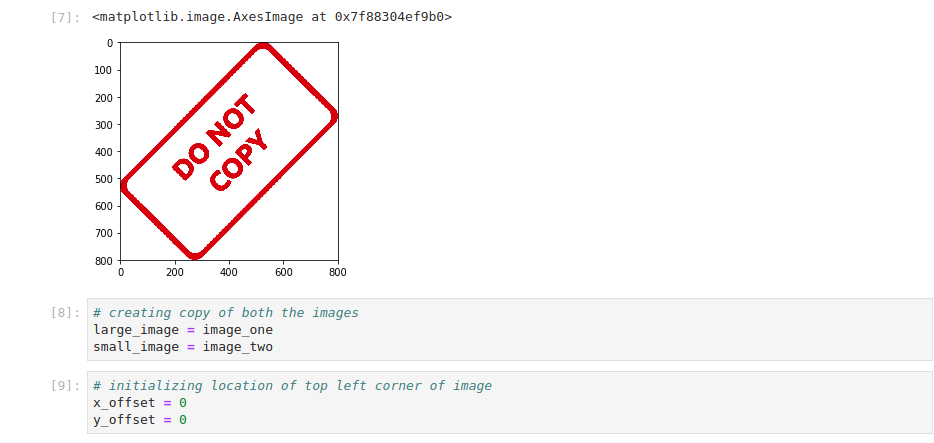
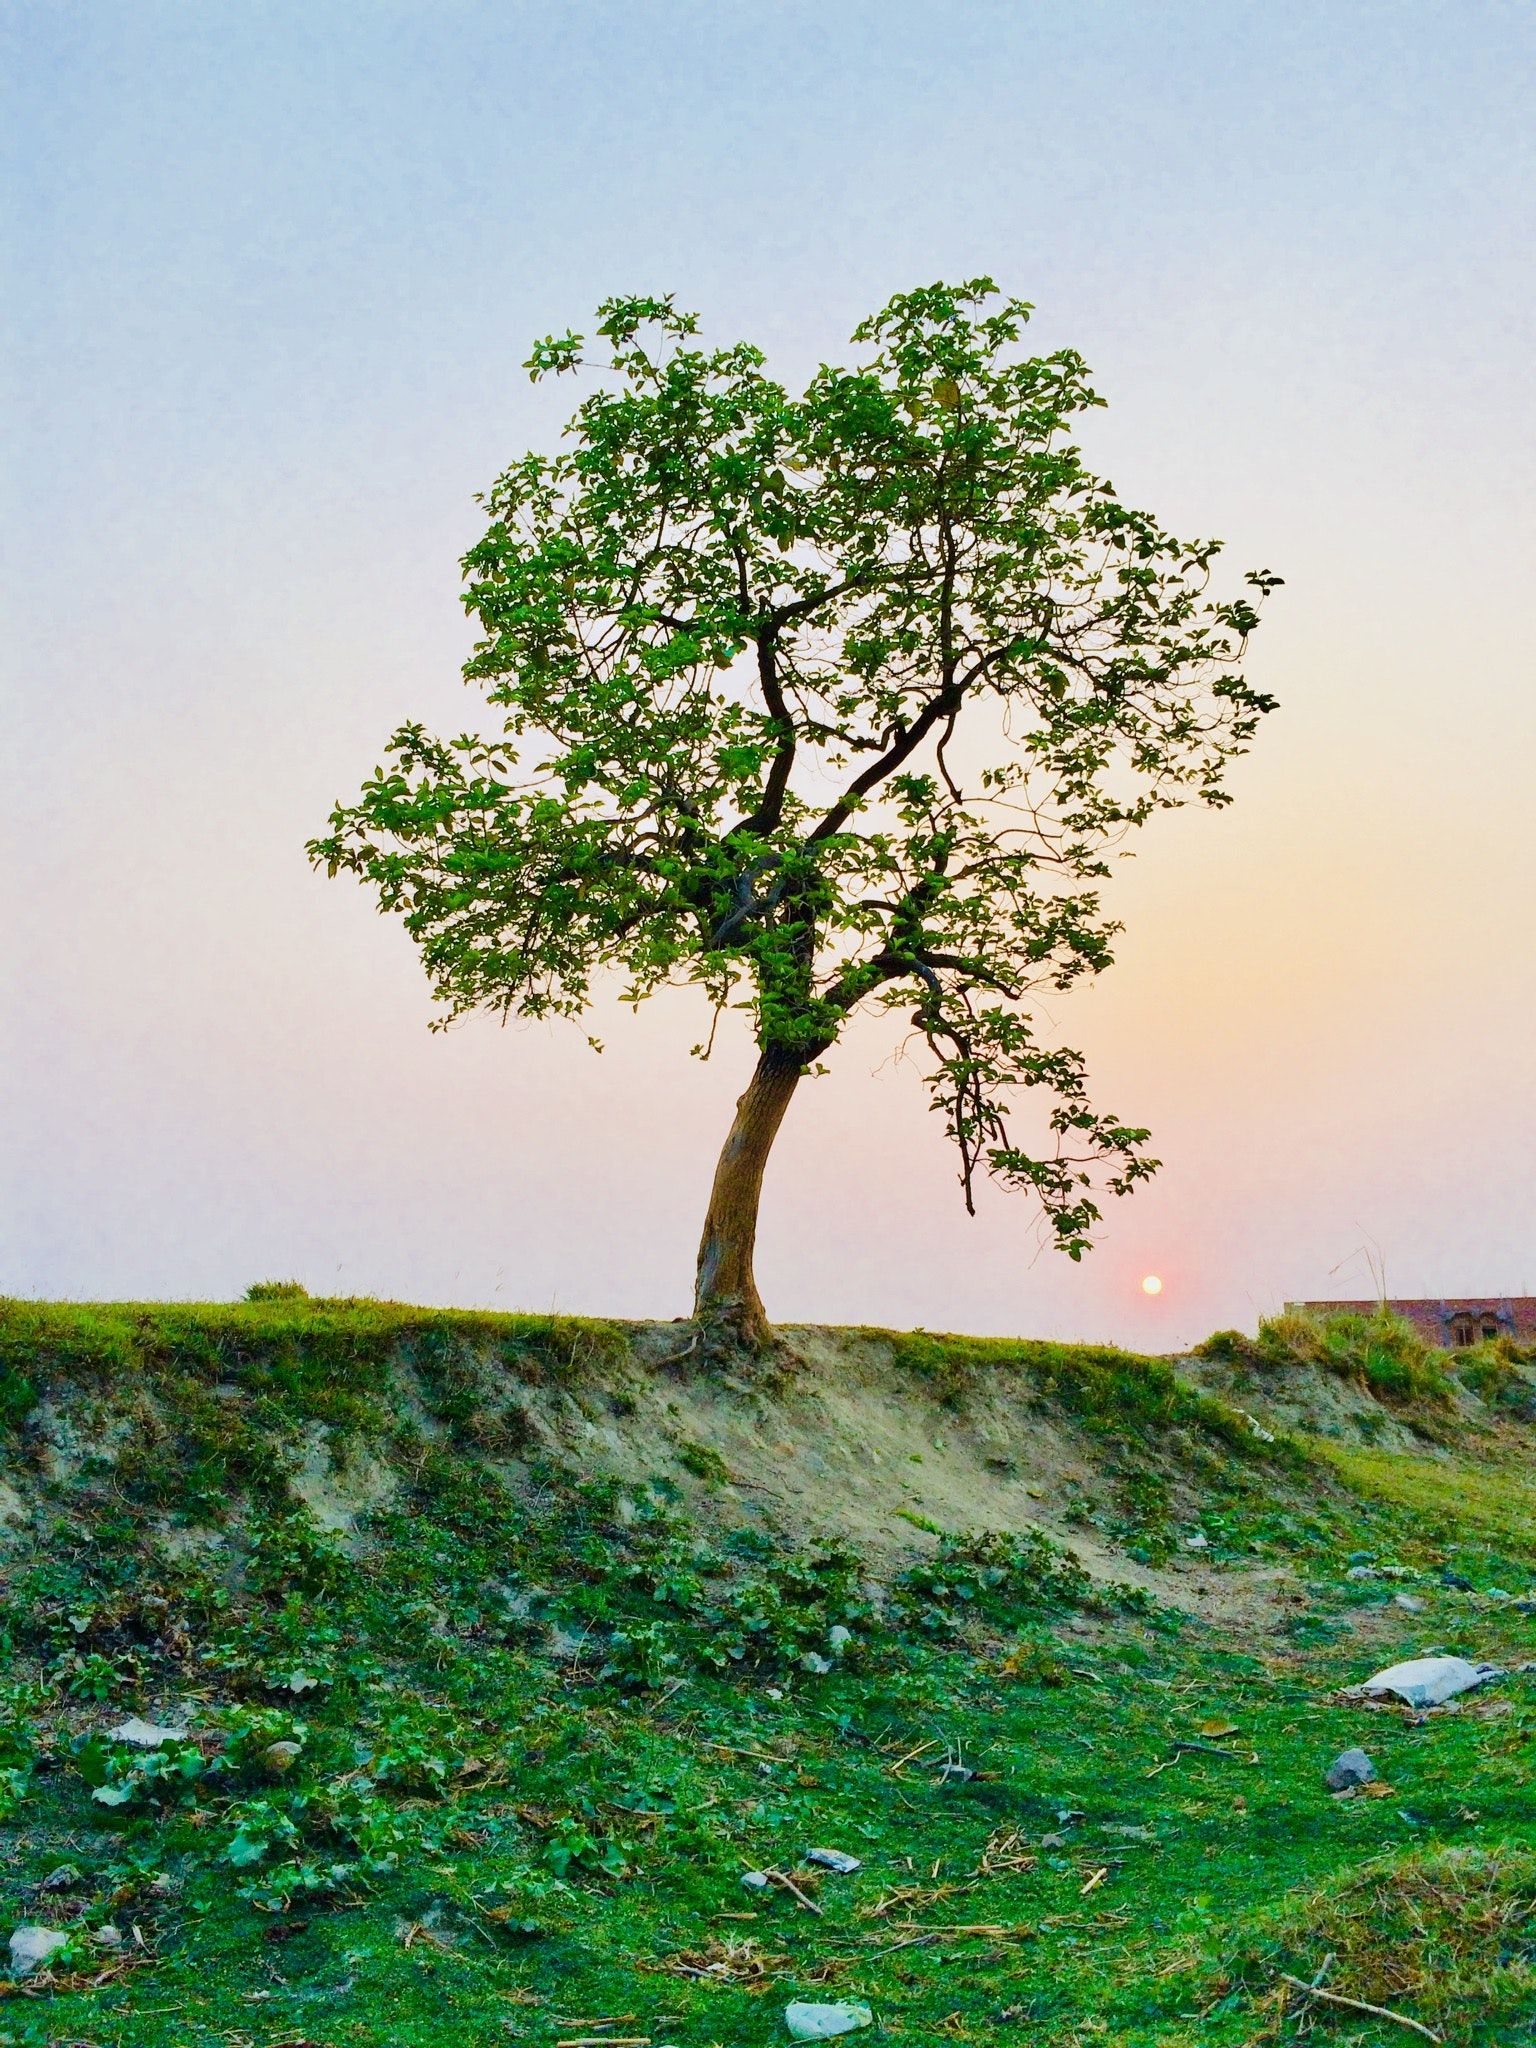
Input images are

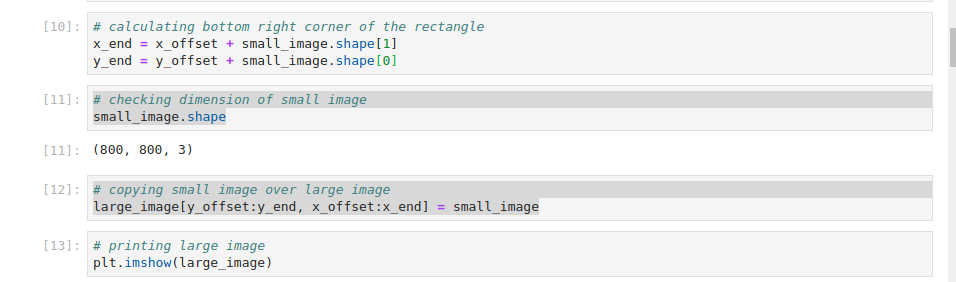
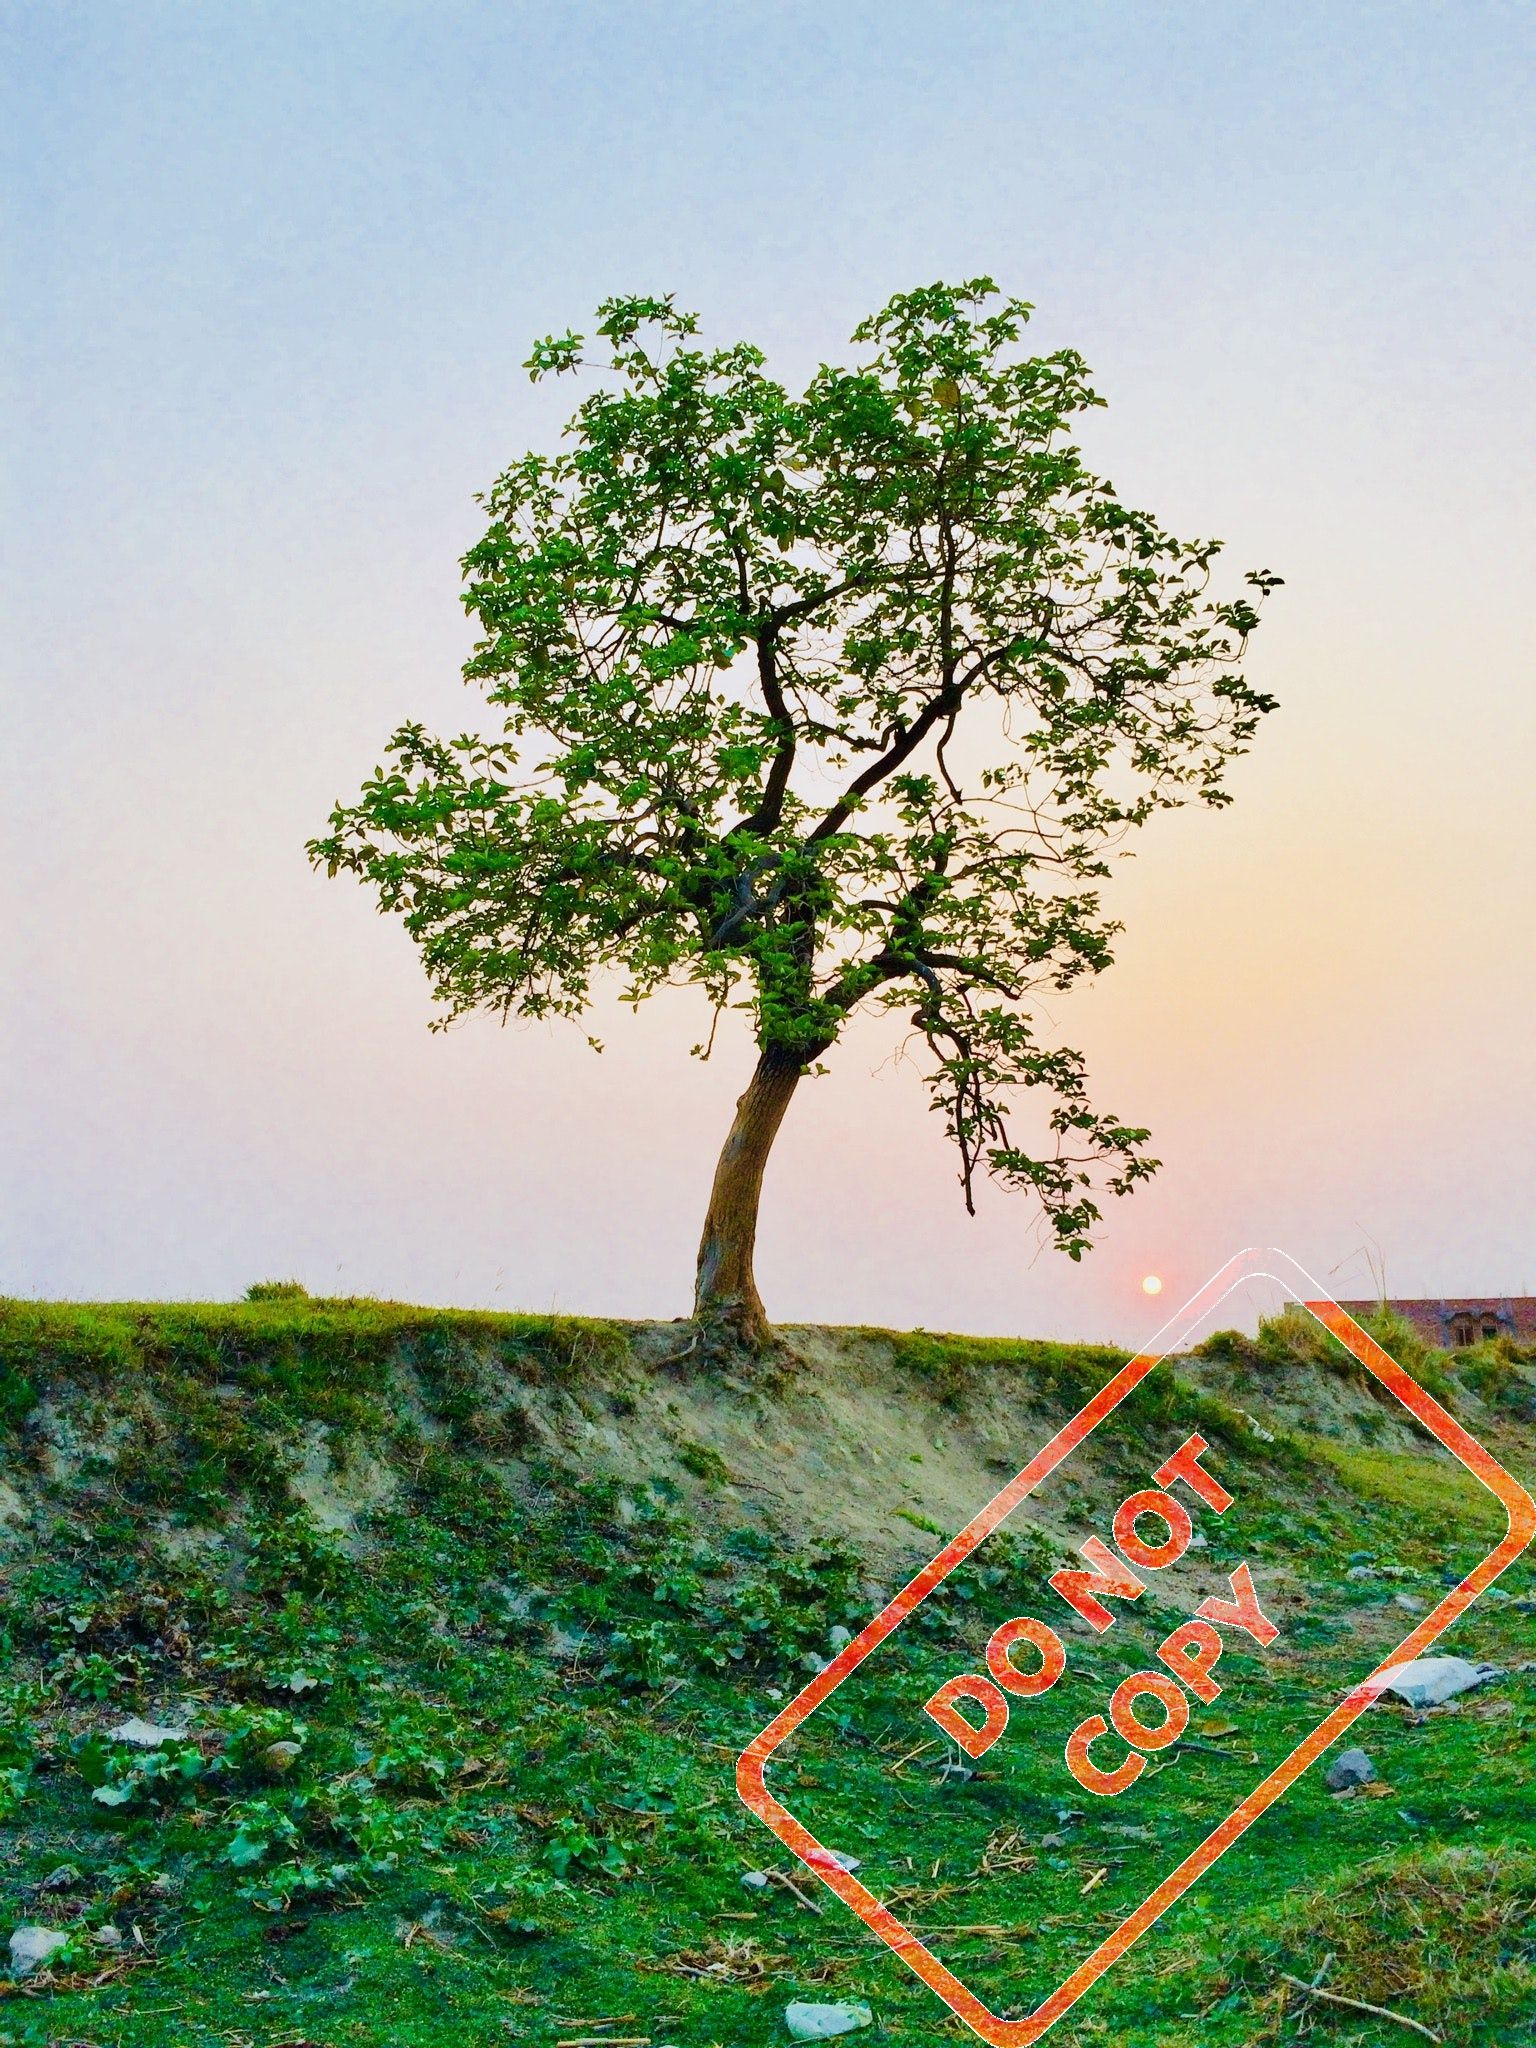
Final original image looks like this
This tutorial is helpful for those who want to protect their graphical data like images of various formats by adding watermarks programmatically and saving time.
Websites can also use it in the backend systems so that whenever someone uploads any image it automatically gets watermarked by their credentials